As you may have read in the previous post, I mentioned how the stages of change fit with a certain charcoal exercise. I thought it would be nice to give a step by step guidance on how to do this type of drawing yourself. Got your paper and charcoal ready? Here we go!
What you will need
- A flat surface
- Drawing paper, A3 format is what I usually work with, but choose what is comfortable for you. A4 or even A5 can work. Just make sure you feel that you have enough space to draw in. Not sure what paper to get? Check this post.
- Charcoal, both thick and thin (make sure you break the long sticks in some more handable pieces of around 5 cm or so).
- Kneadable eraser
- Drafting tape (to secure your paper to the surface)
- Dry tissue or old towel
Step I: Setting up the space and yourself
A step we often forget or rush through is setting up the space and yourself before starting the actual drawing.
if possible, create a clean and comfortable space in which you can work undisturbed. This can be a desk in the corner of your living room or the kitchen table when you have some time by yourself. Whatever works for you. Then set up the material. Place the paper (either horizontal or vertical) and secure it with the tape to the surface. Have the charcoal and kneadable gum next to it. Working with charcoal can be a messy business, because it gives off dust pretty quickly. With the gum you can get it from your hands easily, but for the table you might want to have something like a dry tissue or old towel at hand.
make sure you are in a comfortable position to draw. Have your chair close to the table, be fully seated on the chair and have your feet touch the ground. If you notice that your feet still kind of hoover over the ground, you can put something of a pillow underneath your feet to give yourself more stability.
As you are seated, be aware of your body for a moment. If you are comfortable with it you can close your eyes, but you do not have to. Notice how you sit, how you breathe. No need to adjust anything. Just notice whatever is there for a moment or two. Then take some deep breaths. In through the nose and out through the mouth. We tend to inhale deeper than we exhale, but during the exhale we can release tension better. So try to prolong those exhales. Then, whenever you feel ready, we shall start.
Step II: Welcoming the darkness
Darkness is often associated with negativity, danger and uncertainty. But all life starts in darkness. The seed in the ground that waits for the right conditions to come out above the surface. The chick in the egg and the baby in the belly that stay in the comfort and safety of the embracing darkness before the time is there to enter the light. This is the darkness we will create.
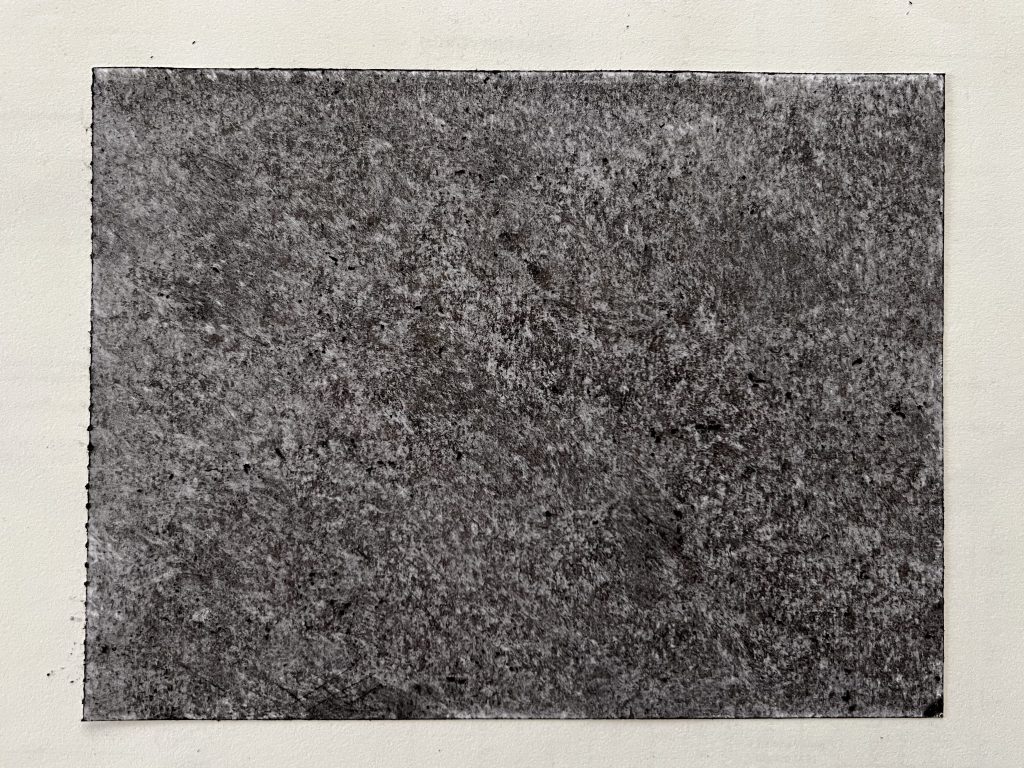
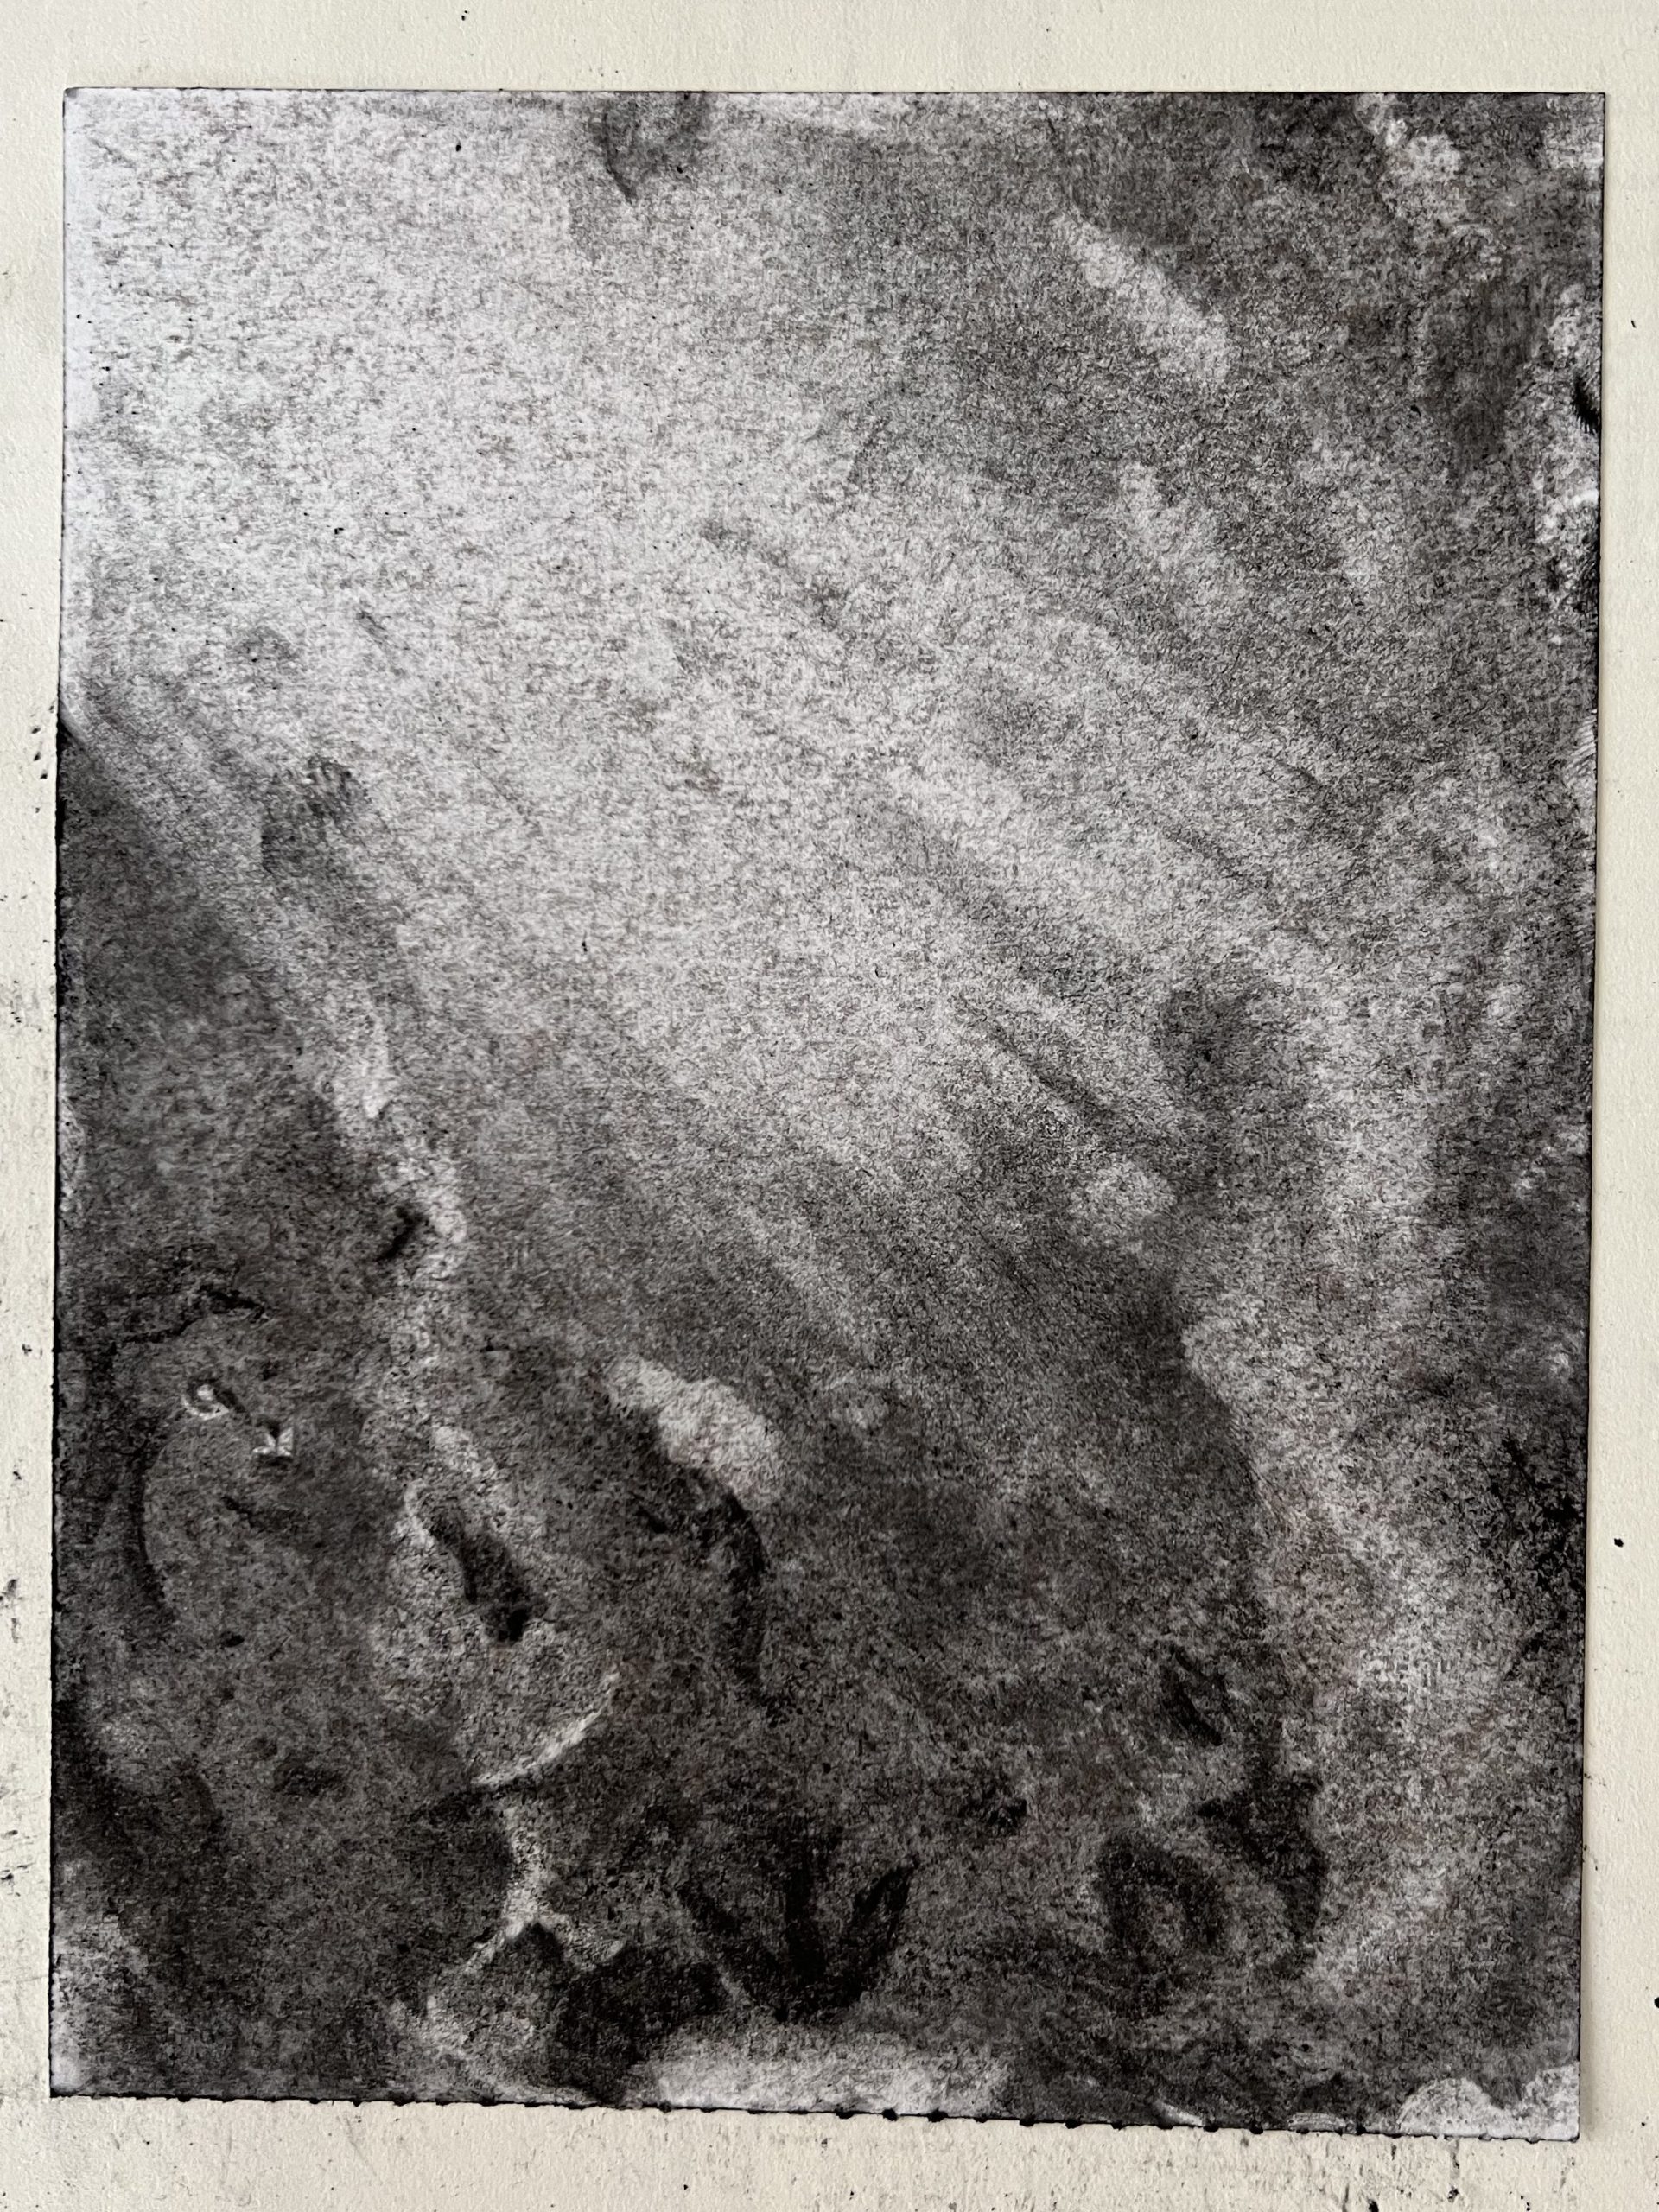
Grab a thick piece of charcoal and place it with its side on the paper. In the beginning this might feel a bit tricky, because of its round shape. This will soon flatten out as you continue drawing. Slowly start filling the white paper by making gentle, roundish movements with the charcoal. You can move here and there, no order needed. The darkness can slowly spread like a big cloud. Go on until you have filled the entire paper.
Maybe you will draw over a part you’ve already covered. Good. You may notice then that those spots become darker. Go over the first layer you made at least two times more. See how dark you can make it, without putting to much pressure on the charcoal.
As you are creating this darkness, see if you can notice what is does for you. Does your body relax more? Or does it create tension somewhere? And how is your mind? Maybe your thoughts soften with the slow, repetitive movement. Or maybe the new approach makes your mind a bit uneasy. As with the setting up, whatever may come up, see if you can be aware of it without needing to change anything about it.
When you feel like the darkness is dark enough, we will proceed to the next step.
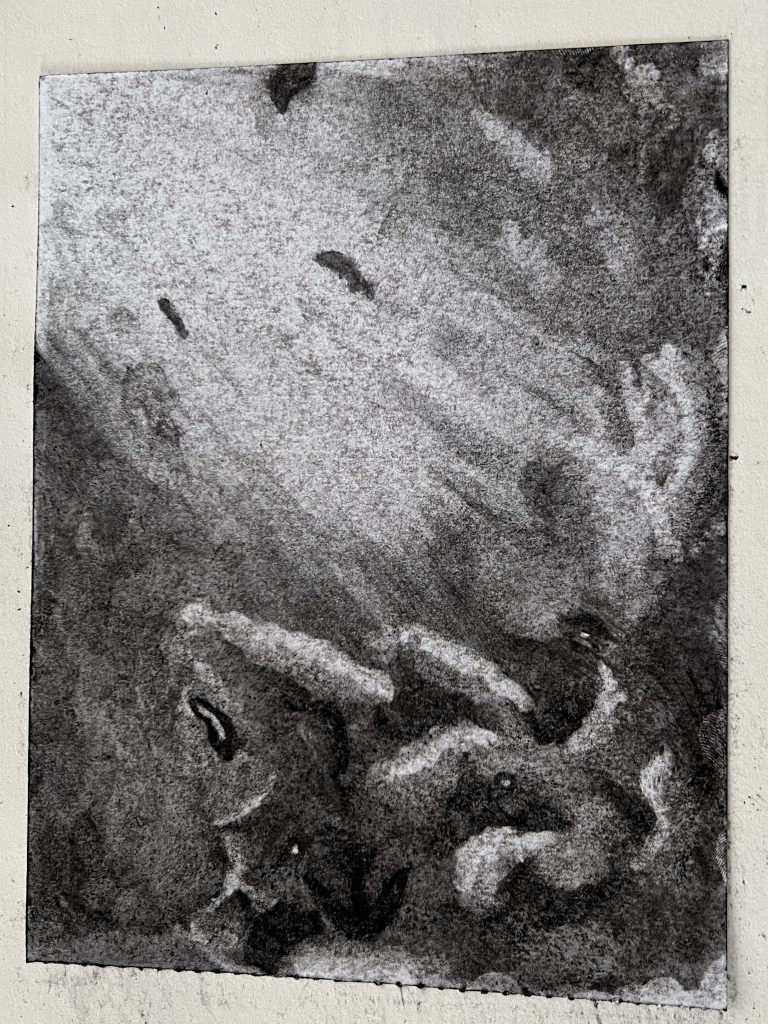
Step III: Bringing in the light
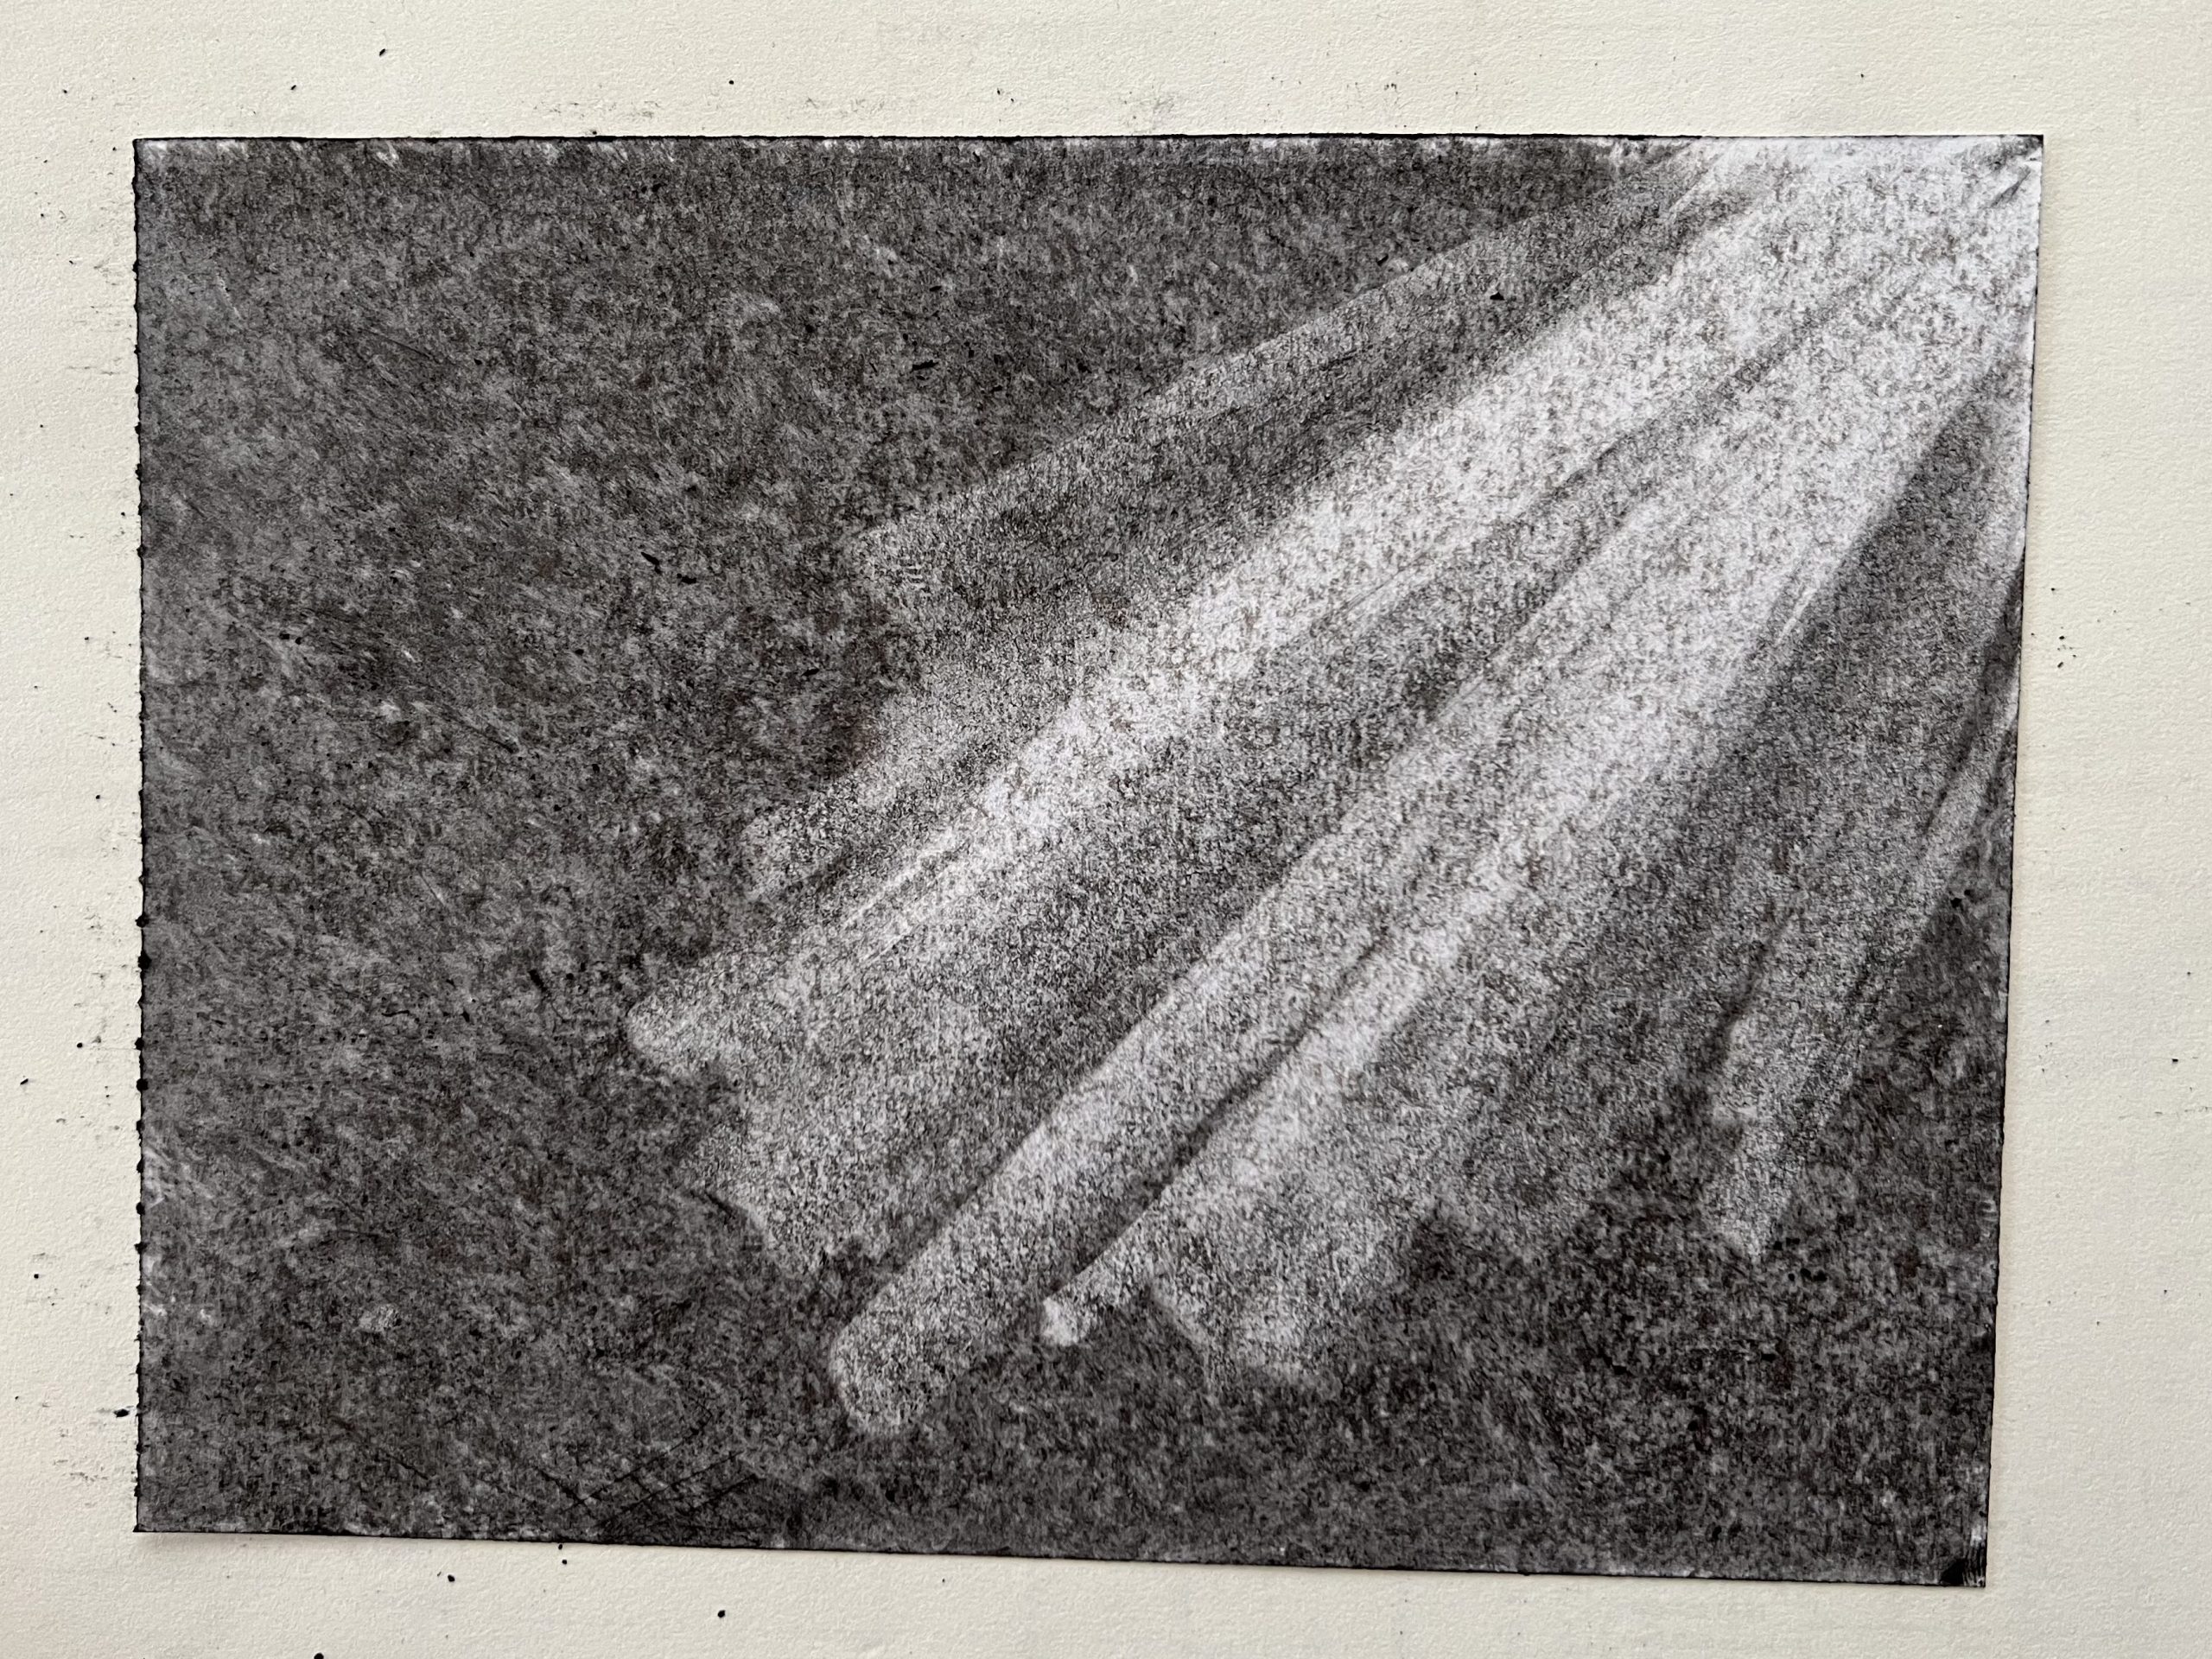
Light always has a source and from there it goes into either direction it has access to. So for us to bring in the light, we need to determine where it is coming from. The source will be imagined outside of the paper and usually is placed somewhere around the upper border of the paper. But feel free to play with that.
The further away we imagine the source, the broader and blurrier the light. And so: closer to the border of the paper the light will be sharper and more narrow.
Now how do we bring the light in? By creating strait lines from the source with the kneadable gum. The kneadable part comes to use immediately, because you can determine how broad or thin you want your lines to be by kneading the gum more into a point or not.
Allow yourself to make a few strait lines first and see what happens to the darkness you created. Most likely your lines start of sharp and bright and become slightly more dimmed the further you go into the darkness. How is it for you to break the darkness? Does it feel any different to work with the light instead of the darkness? And if so, in what way?
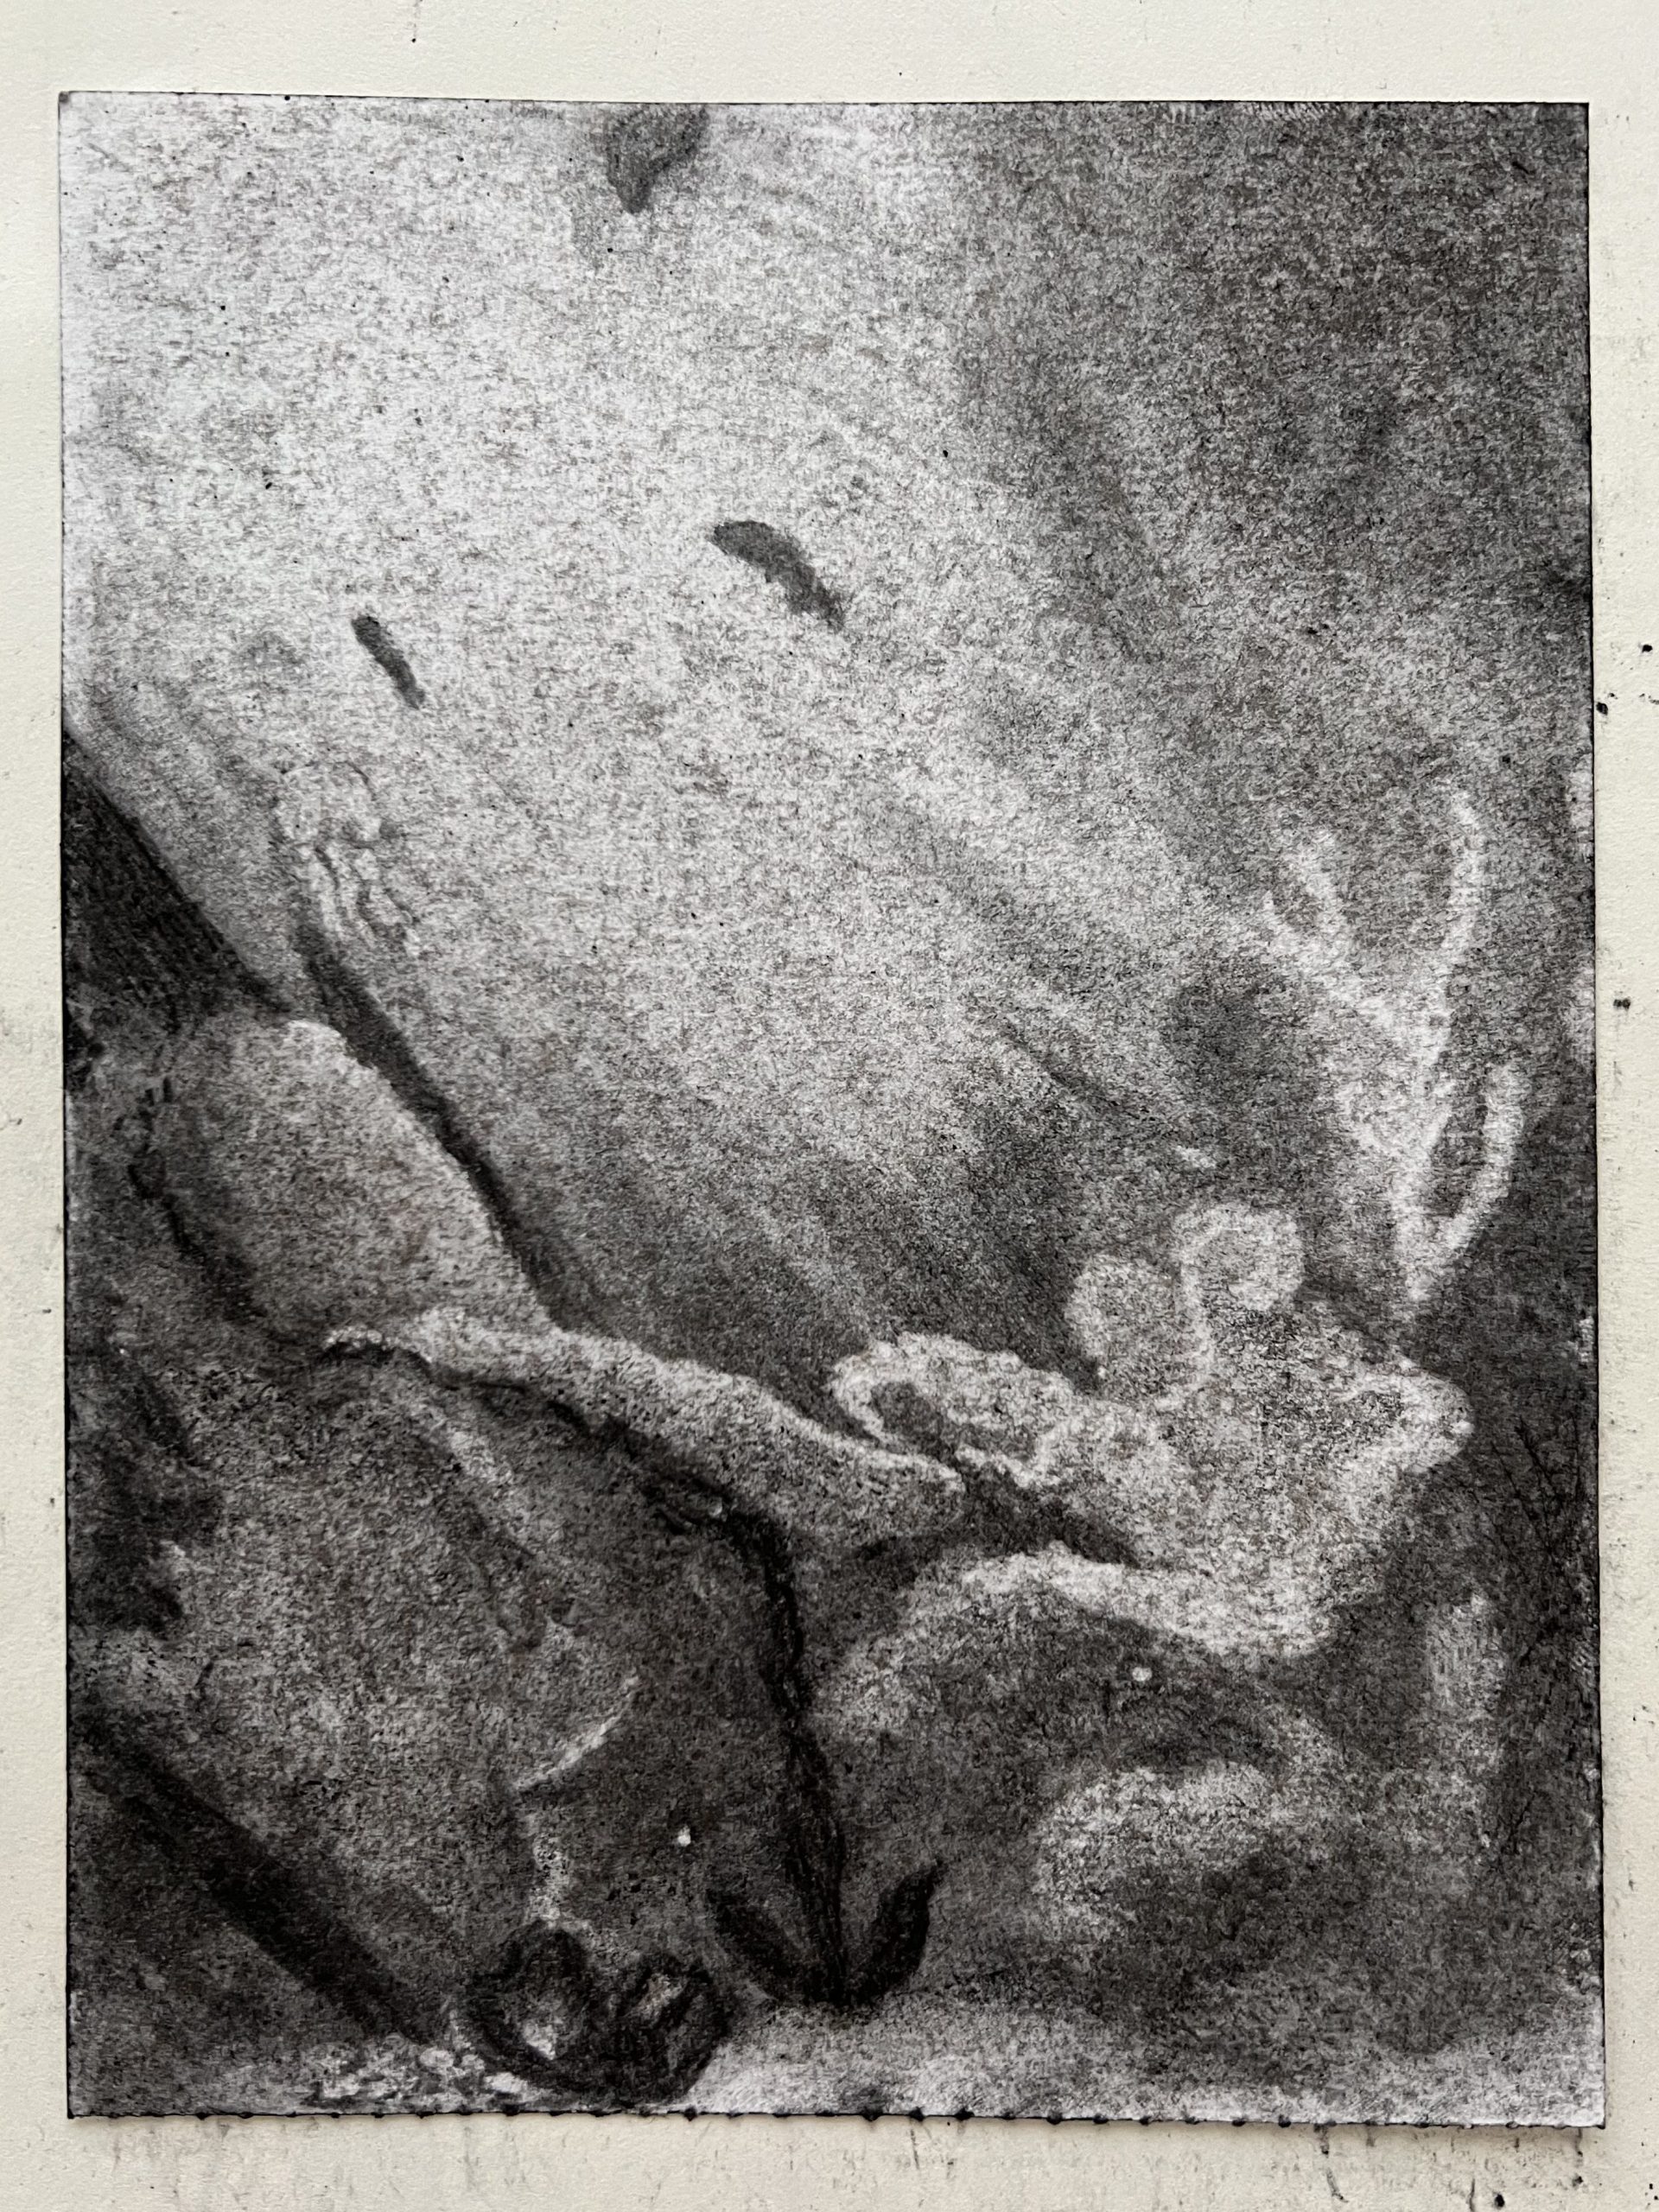
Step IV: Turning it into a dance
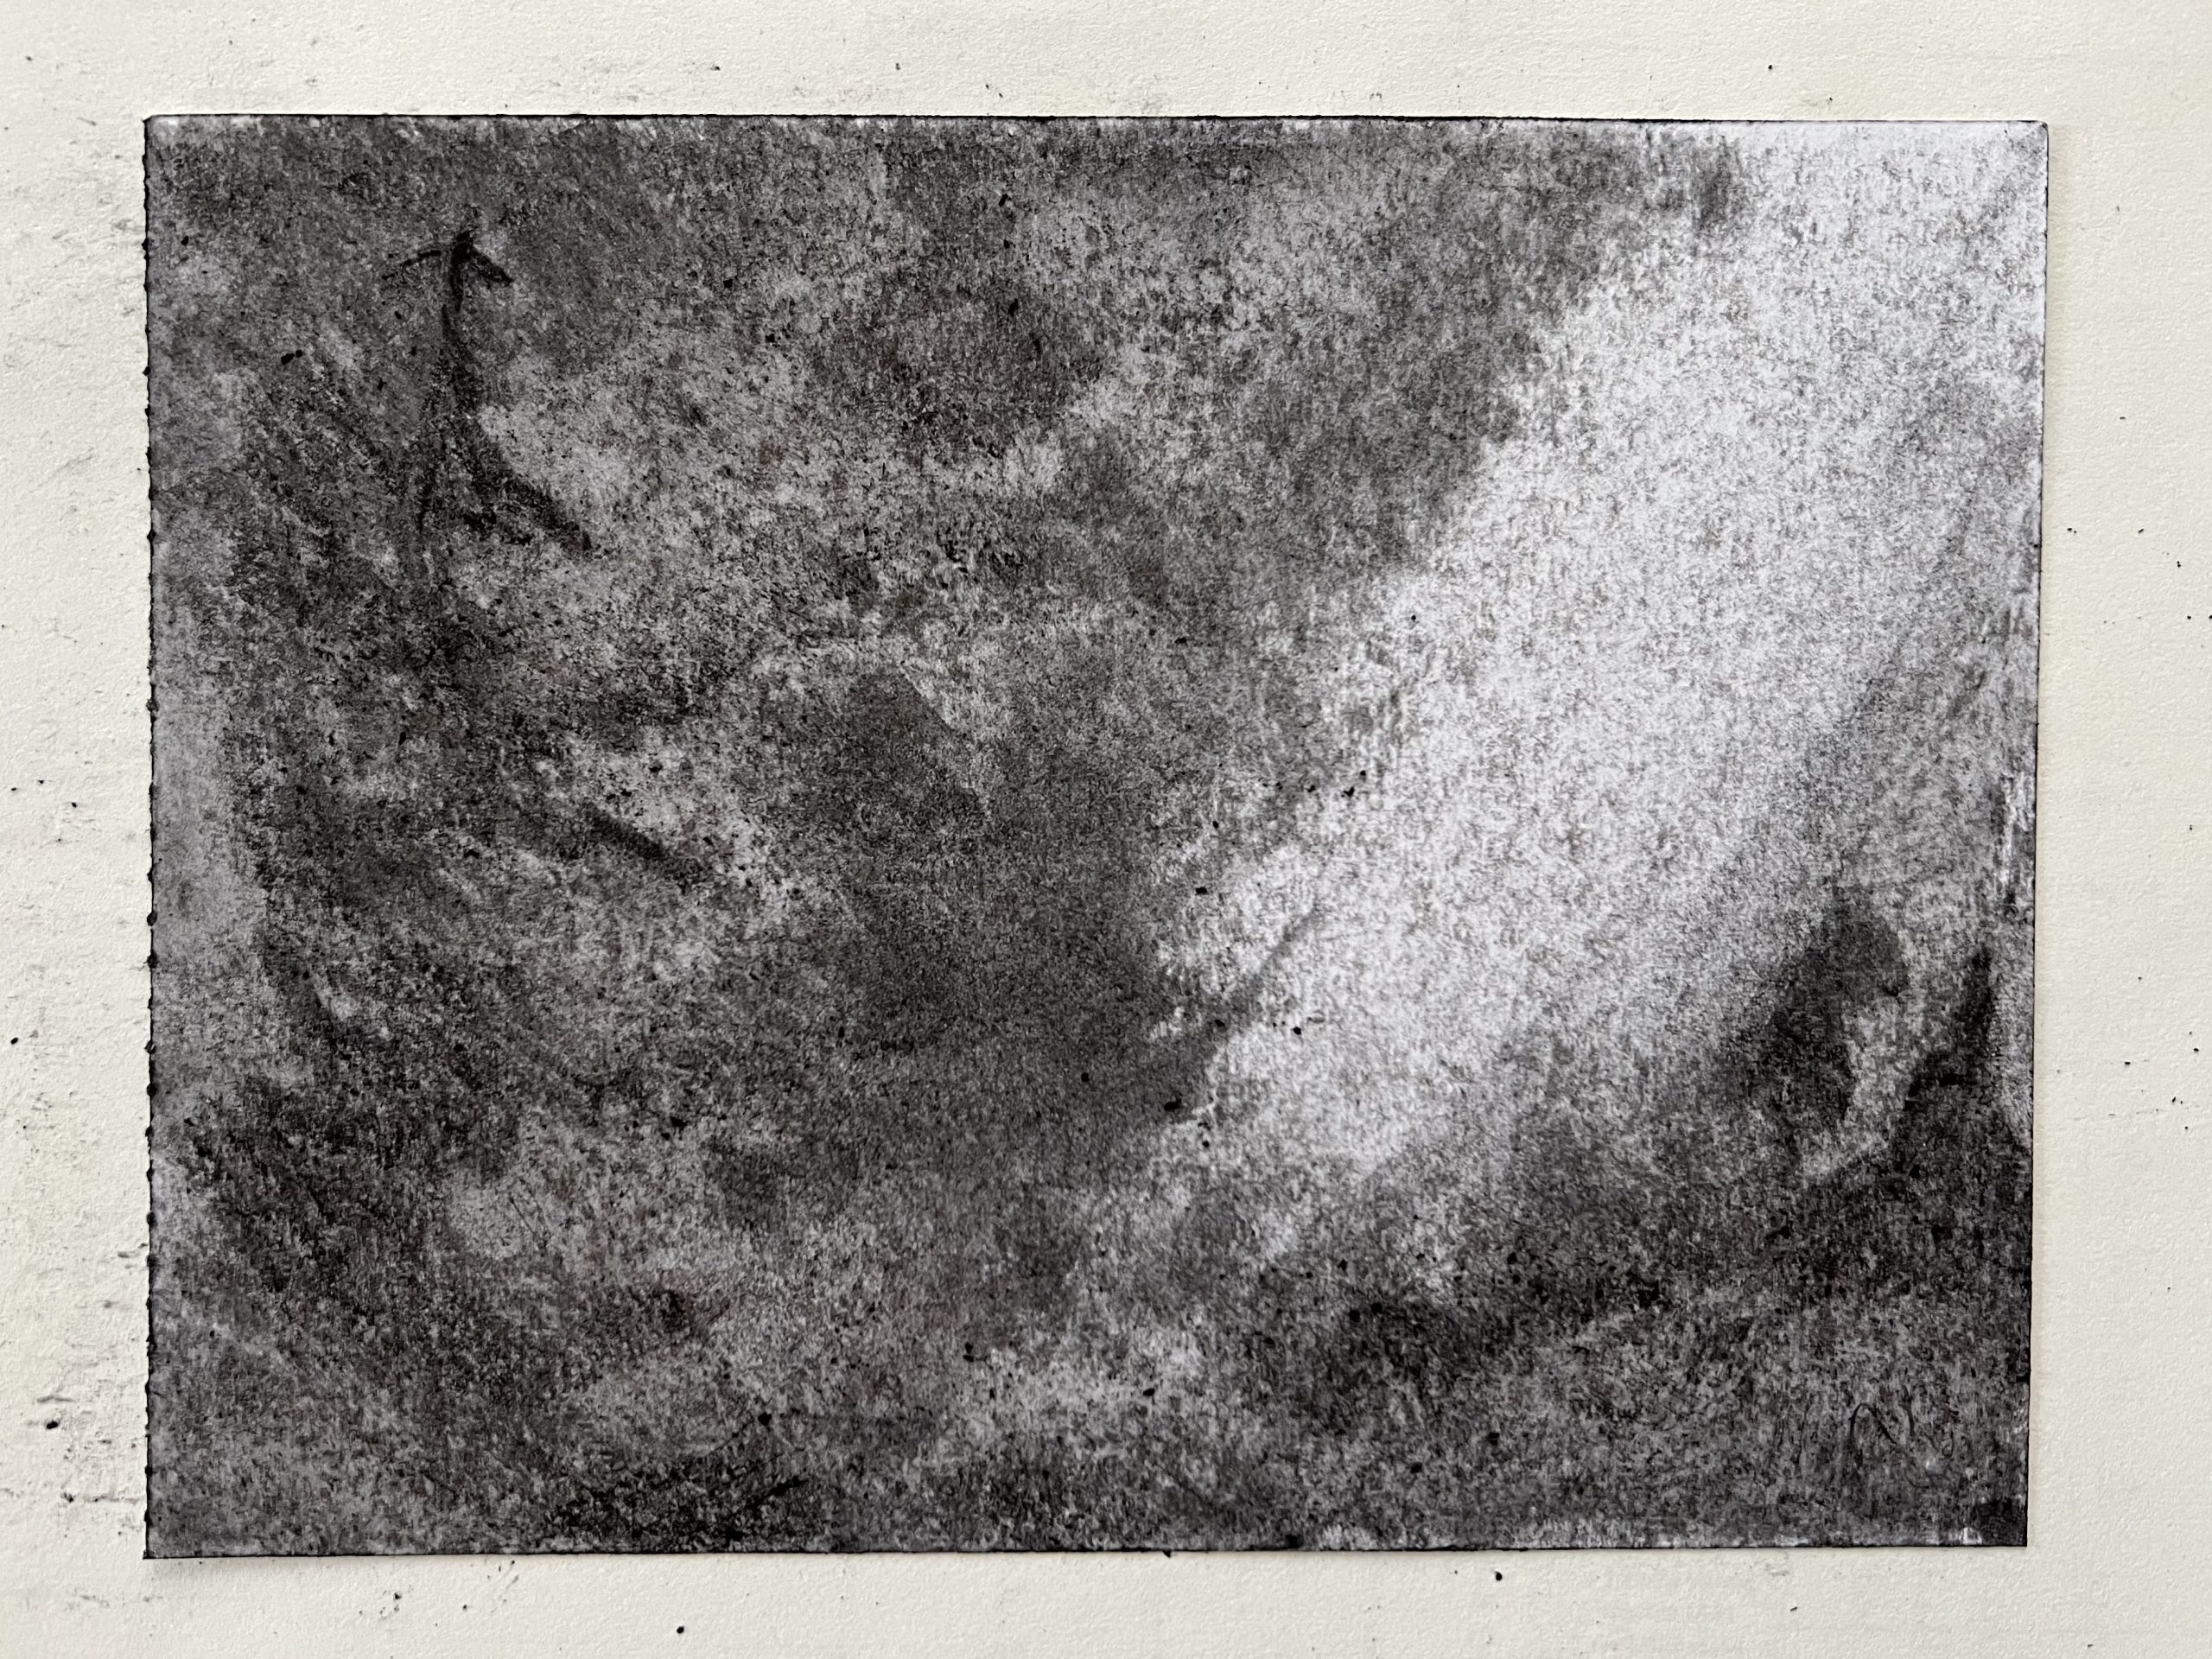
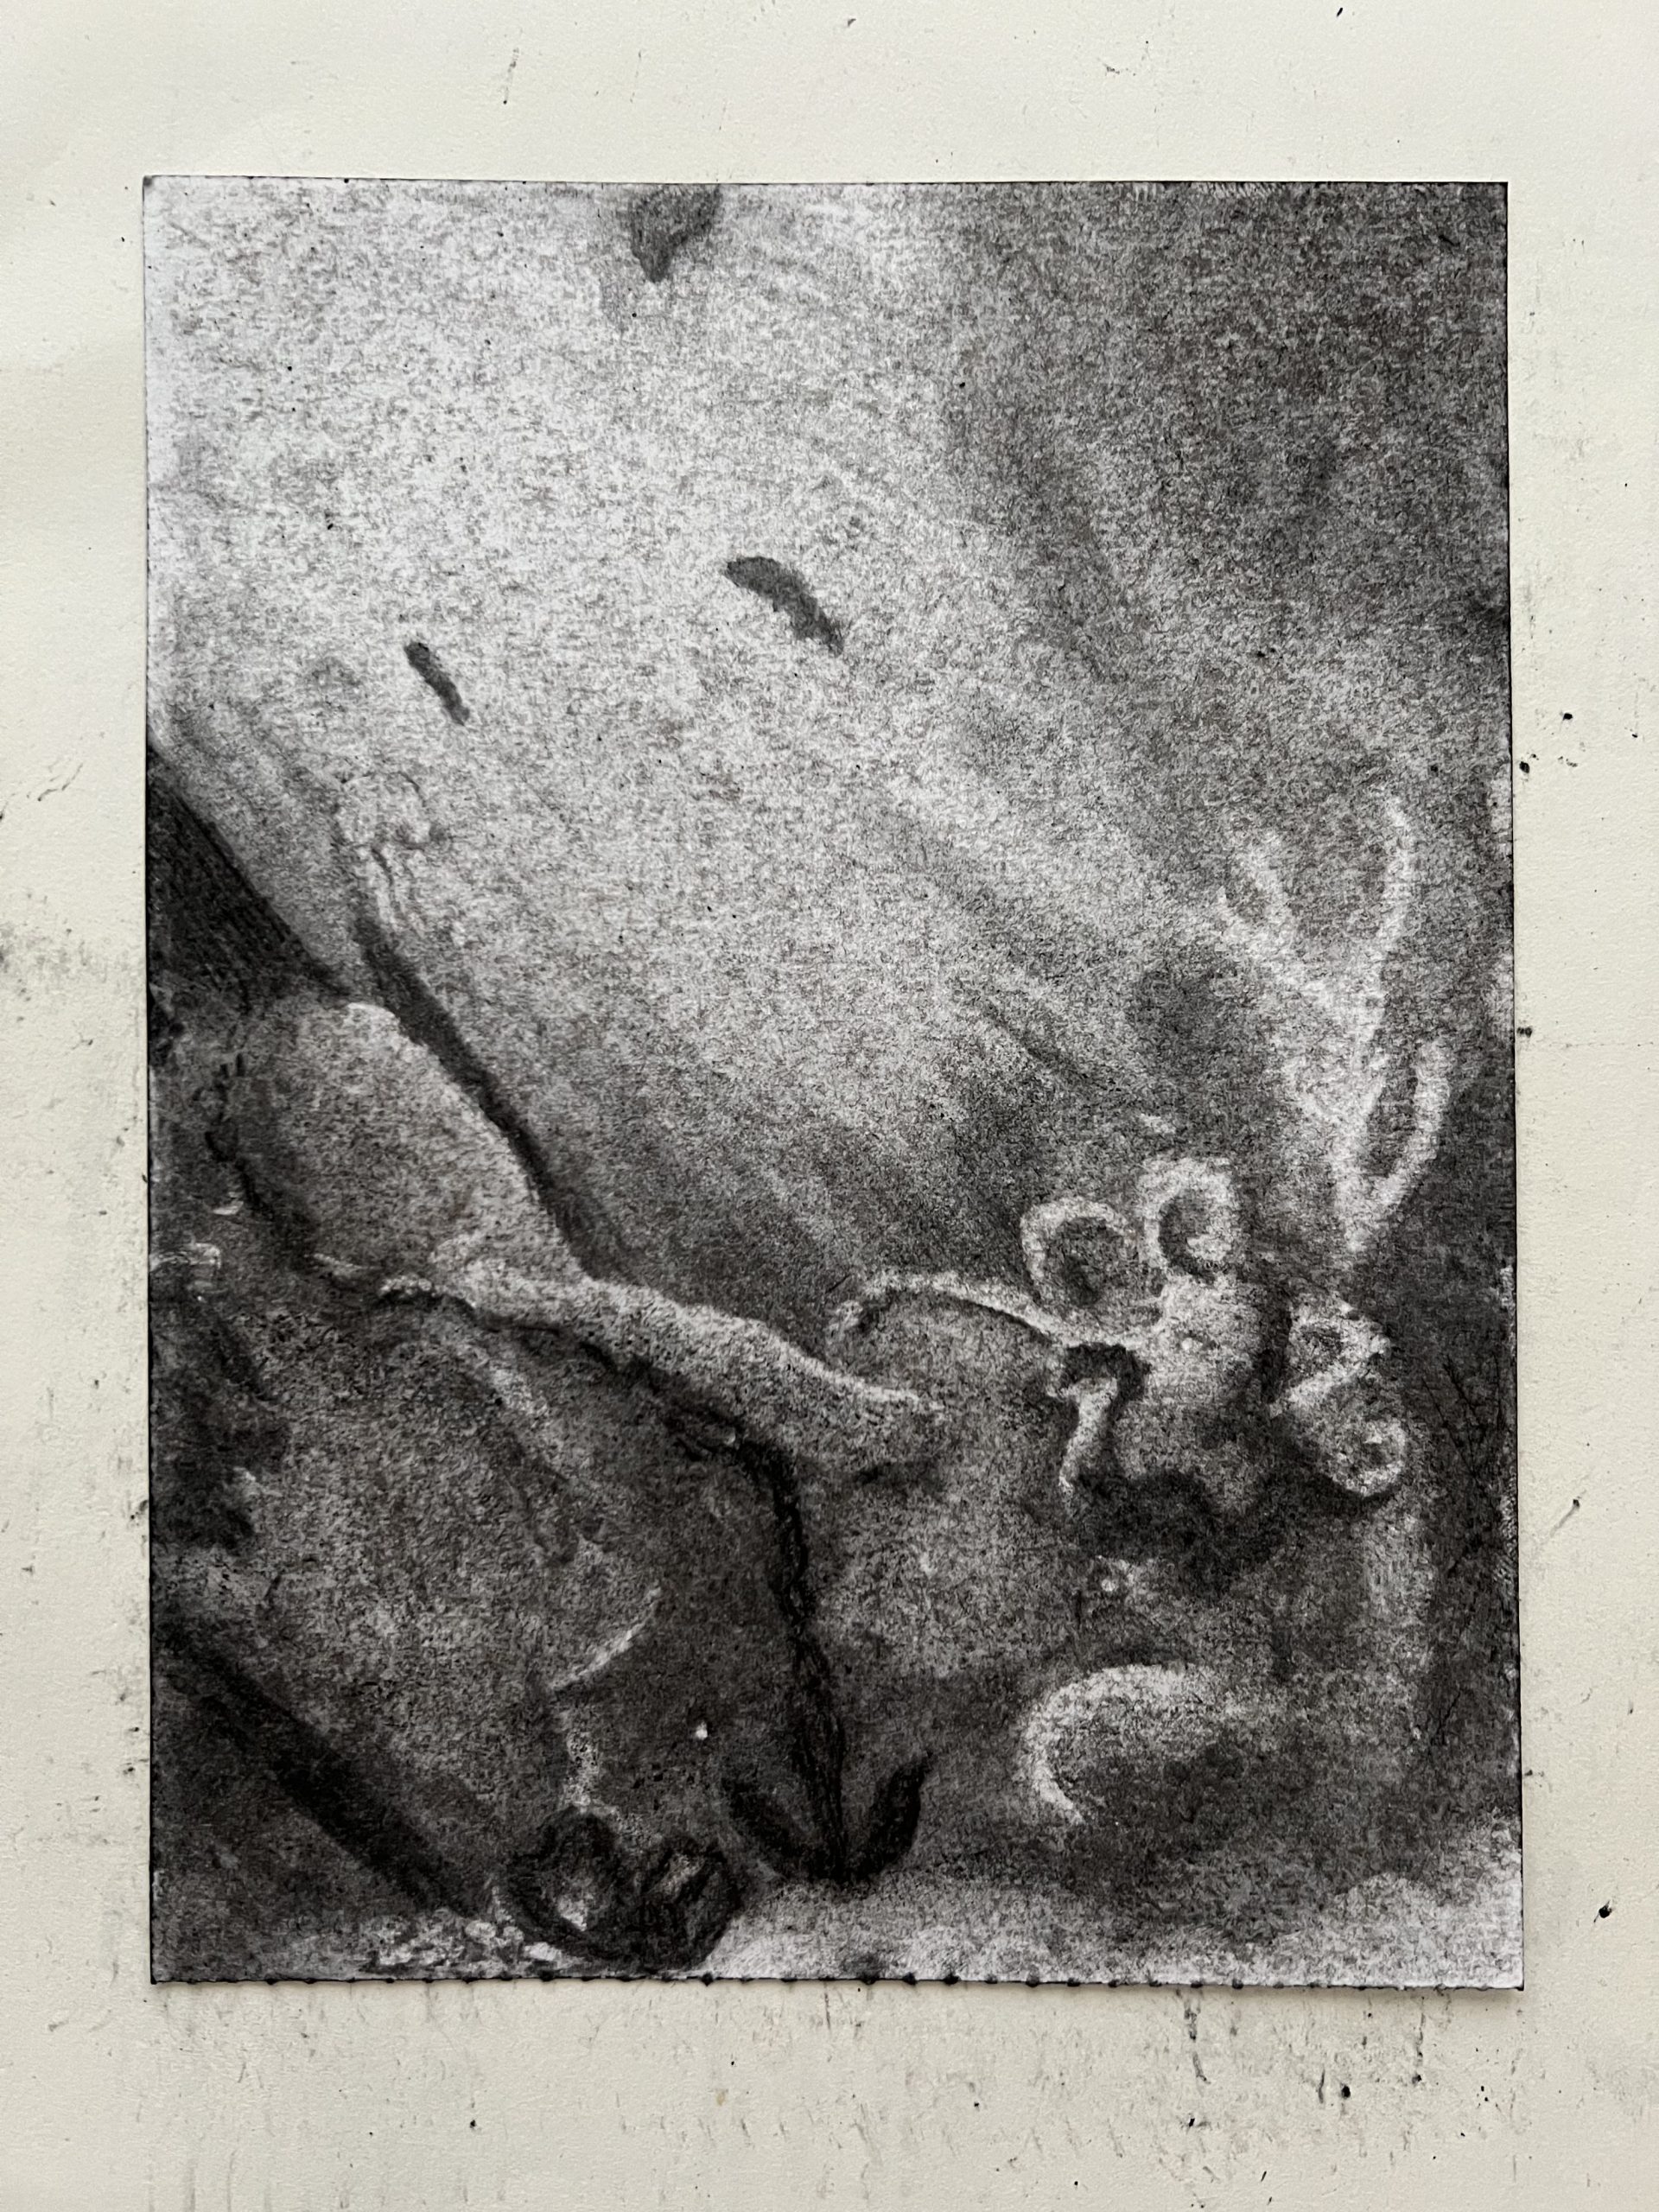
After you have placed some lines, which may now look a little like a spotlight, it is time to let the darkness and light interact with each other. Which means you will take turns in bringing in back the darkness again with the charcoal and then bring in the light. You may be a little playful with this, the darkness may go over the light, breaking lines into two or more pieces. Maybe the light dares to go all the way to the bottom, only to be driven back again by the charcoal. But note that the darkness will never fully reach the start of your light.
The idea behind this step is that a nuance of shadows start to form, which will help in the next step. This might feel daunting at times. I know it can for me. There can be moments you feel like nothing is changing, no matter how or where you work with the material. It can help to emphasise the spots that are already quite a lot darker, or a lot lighter. You can chose to work around a lighter area with the charcoal to increase the contrast or vice versa. From here the transition to the next step probably will go smoother.
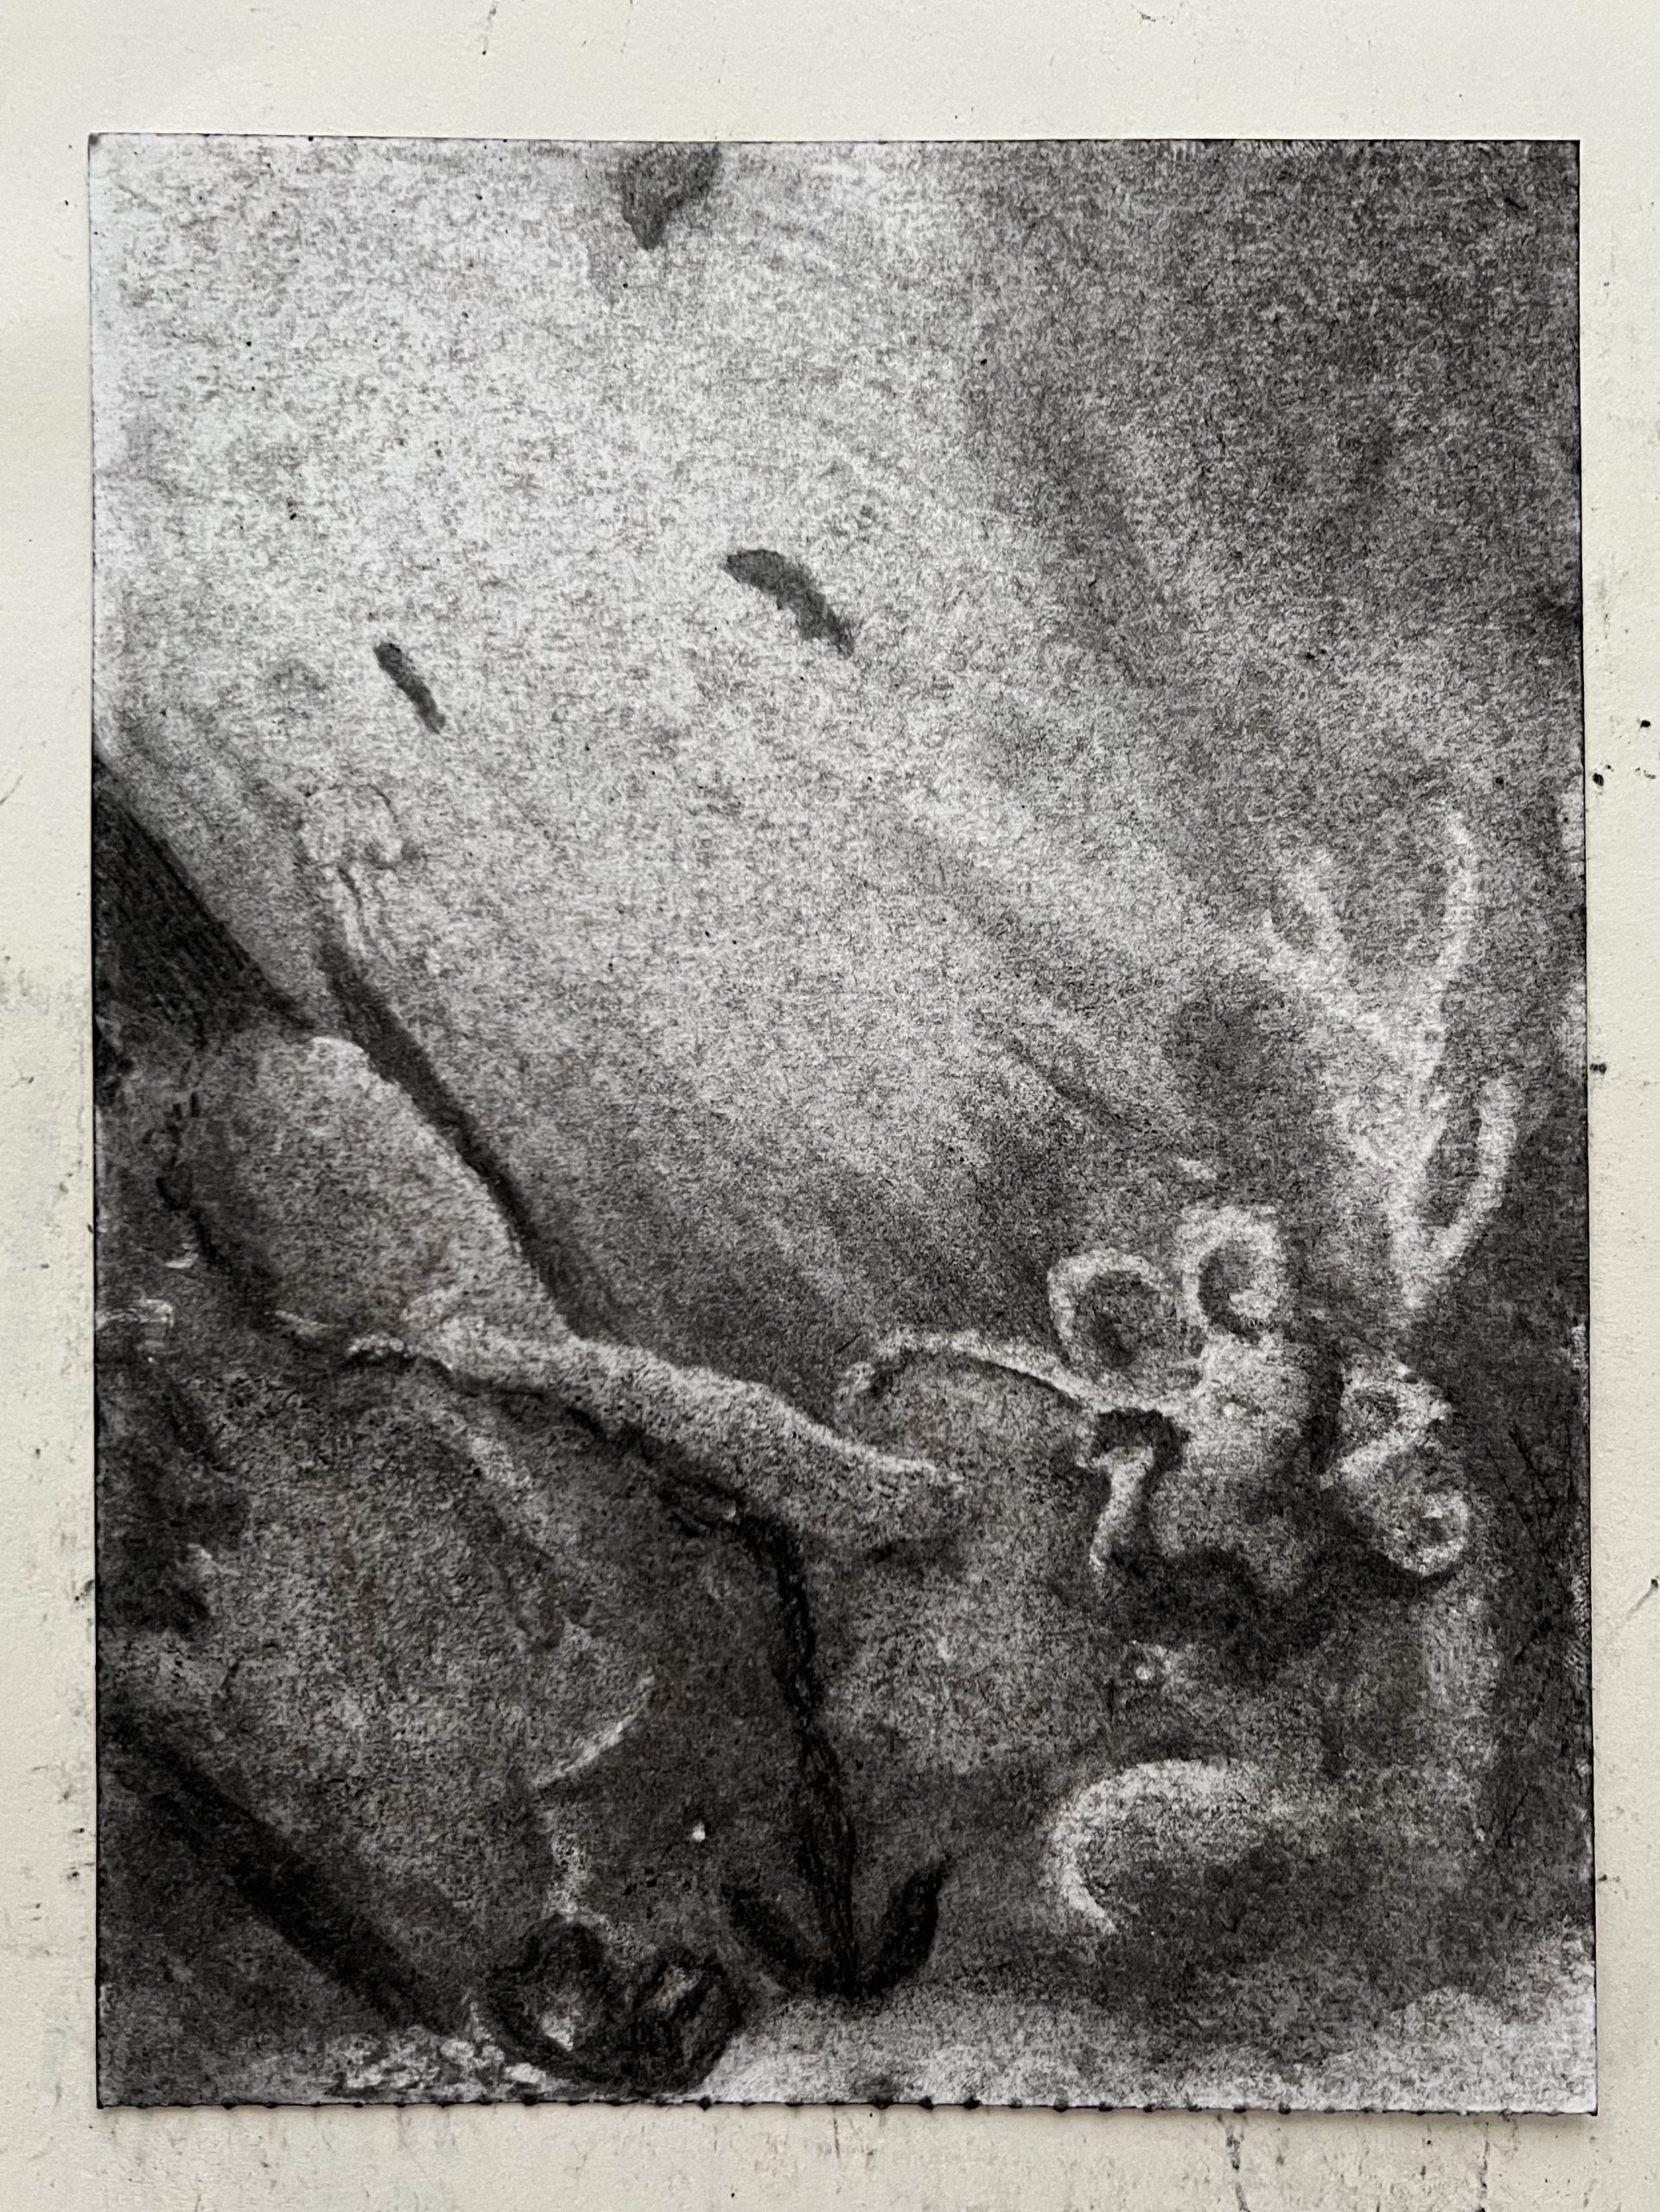
Step V: Finding the form
Take a moment to look at your drawing from a distance. What draws your attention? What shapes are there that can be turned into something recognisable? Here it will also help to rotate the paper. Seeing the drawing from a different angle may show forms you hadn’t noticed before.
If you have turned your paper around and around, but still see only a blur of black and white, give yourself some more time to dance.
If you do notice forms that could turn into something, it is time to work them out. For me it helped to create a story with the things I recognised. For instance, at first I saw ferns, bushes and an interesting shape that could turn into a leopard or the like. To try and bring these shapes more forward, I started playing with the light and dark. Emphasising certain shapes, making some lighter areas extra light or making certain parts darker. Eventually other forms appeared stronger and it felt right to change the story. From the jungle I found myself at the bottom of the ocean.
Step VI: Finish when it feels right for you
Where the first few steps focussed more on intuition and being let by what appeared, is this step asking more of you to take back charge and decide how to create the story that slumbers in the shadows. Your mind may become more active and you might get lost in the details. At the same time you can feel more certainty and perhaps joy as there is a clearer direction and more familiarity with the material. Give yourself a moment every now and then to look again from a distance. It will help to keep the bigger picture in mind and to see the way the light hits the surfaces makes sense, for this will influence the harmony of the whole.
Once you have the feeling that the drawing is done, distance yourself a little bit from the table you are working on and notice how you are feeling. How does your body feel? Maybe you notice you are more present in a certain part than another. Maybe some parts feel sore or less sore. How is your mind? Any thoughts that are more or less present than usual? As with the beginning, no need to change anything about it. Just let it be and if you feel like it you can take a few deep breaths in and mostly out again.
If you want you can look at your drawing a bit more, see what catches your attention. But you do not have to. It can also be nice to let it be for what it is without engaging the mind too much again.
I am curious how you experienced the exercise. And if you find yourself in a “just moved (abroad)” fase I wonder if you found any similarities with the fases you are going through and the different stages of the drawing. Feel free to let me know in the comments. Or if it feels more comfortable you can write a direct message to me through the contact page.
With love, Elianne

Leave a Reply